Even with all these changes, one thing has remained constant and unwavering. I still believe in frugal living especially with more mouths to feed, a dream of building a new house, and the reality of needing a...VAN (gasp, choke, cough). With my return to blogging, I will be sharing new recipes, frugal living concepts, and other money-saving tips.
My first frugal tip is to try to find ways to reuse leftovers. The recipe that I am sharing today uses old, stale glazed donuts and converts them to a decadent, rich bread pudding.
.jpeg)

Glazed Donut Bread Pudding
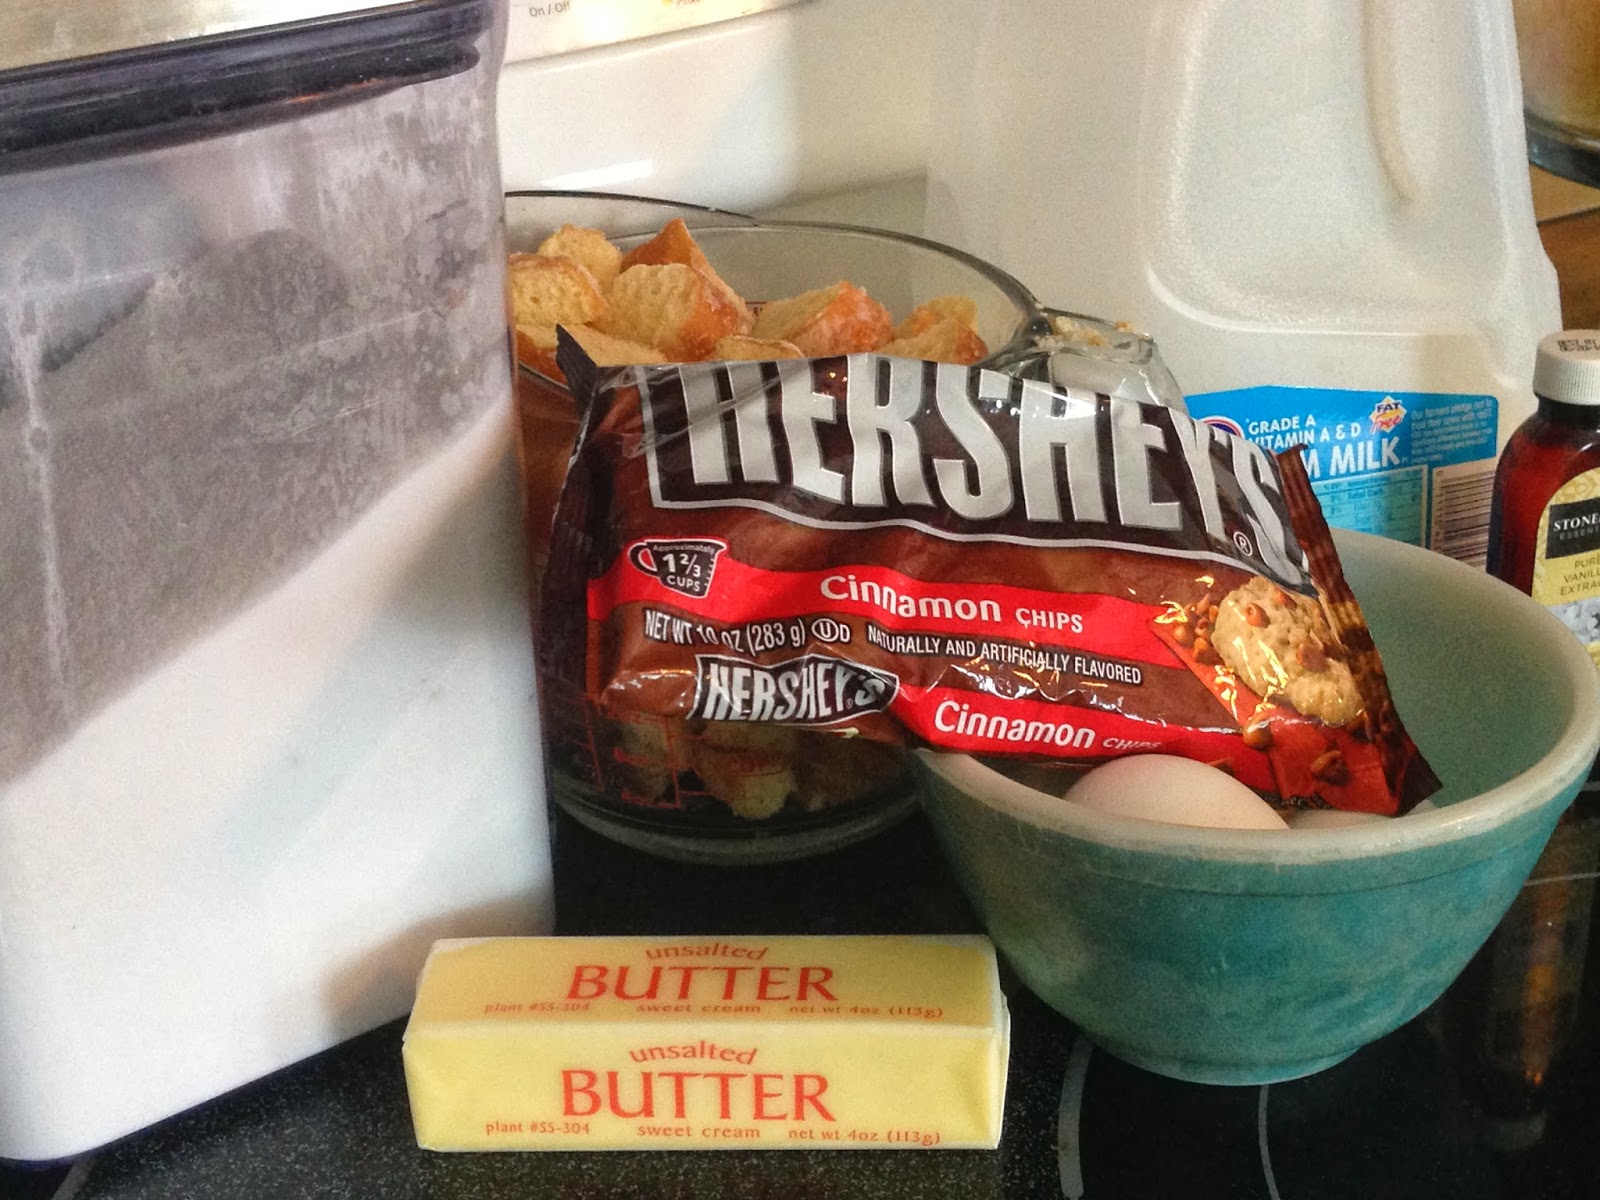
Ingredients
6 cups leftover glazed donuts (or breadsticks, cinnamon rolls, or whatever else your heart desires)
2 tablespoons butter, melted
1/2 cup cinnamon chips or 1 tsp. cinnamon
4 eggs, beaten
2 cups milk
1/2 cup sugar
1 tsp. vanilla

SCORE...I love a good markdown!!!
Directions
Preheat the oven to 350 degrees. Take the donuts that have been cut into chunks and spread out in an 8 inch baking pan. Drizzle the melted butter over the donuts. Sprinkle the cinnamon chips over the donuts. Be sure to eat a good portion of the bag of chips while making this recipe. This is a very important step.
In a separate bowl, beat the eggs. Add the milk, sugar, and vanilla (this would be the step where you add the regular cinnamon if you do not have the cinnamon chips) and mix together. Pour this wet mixture over the donuts and allow them to soak up the goodness. I massaged the wet mixture into the donuts to be sure it was well absorbed.
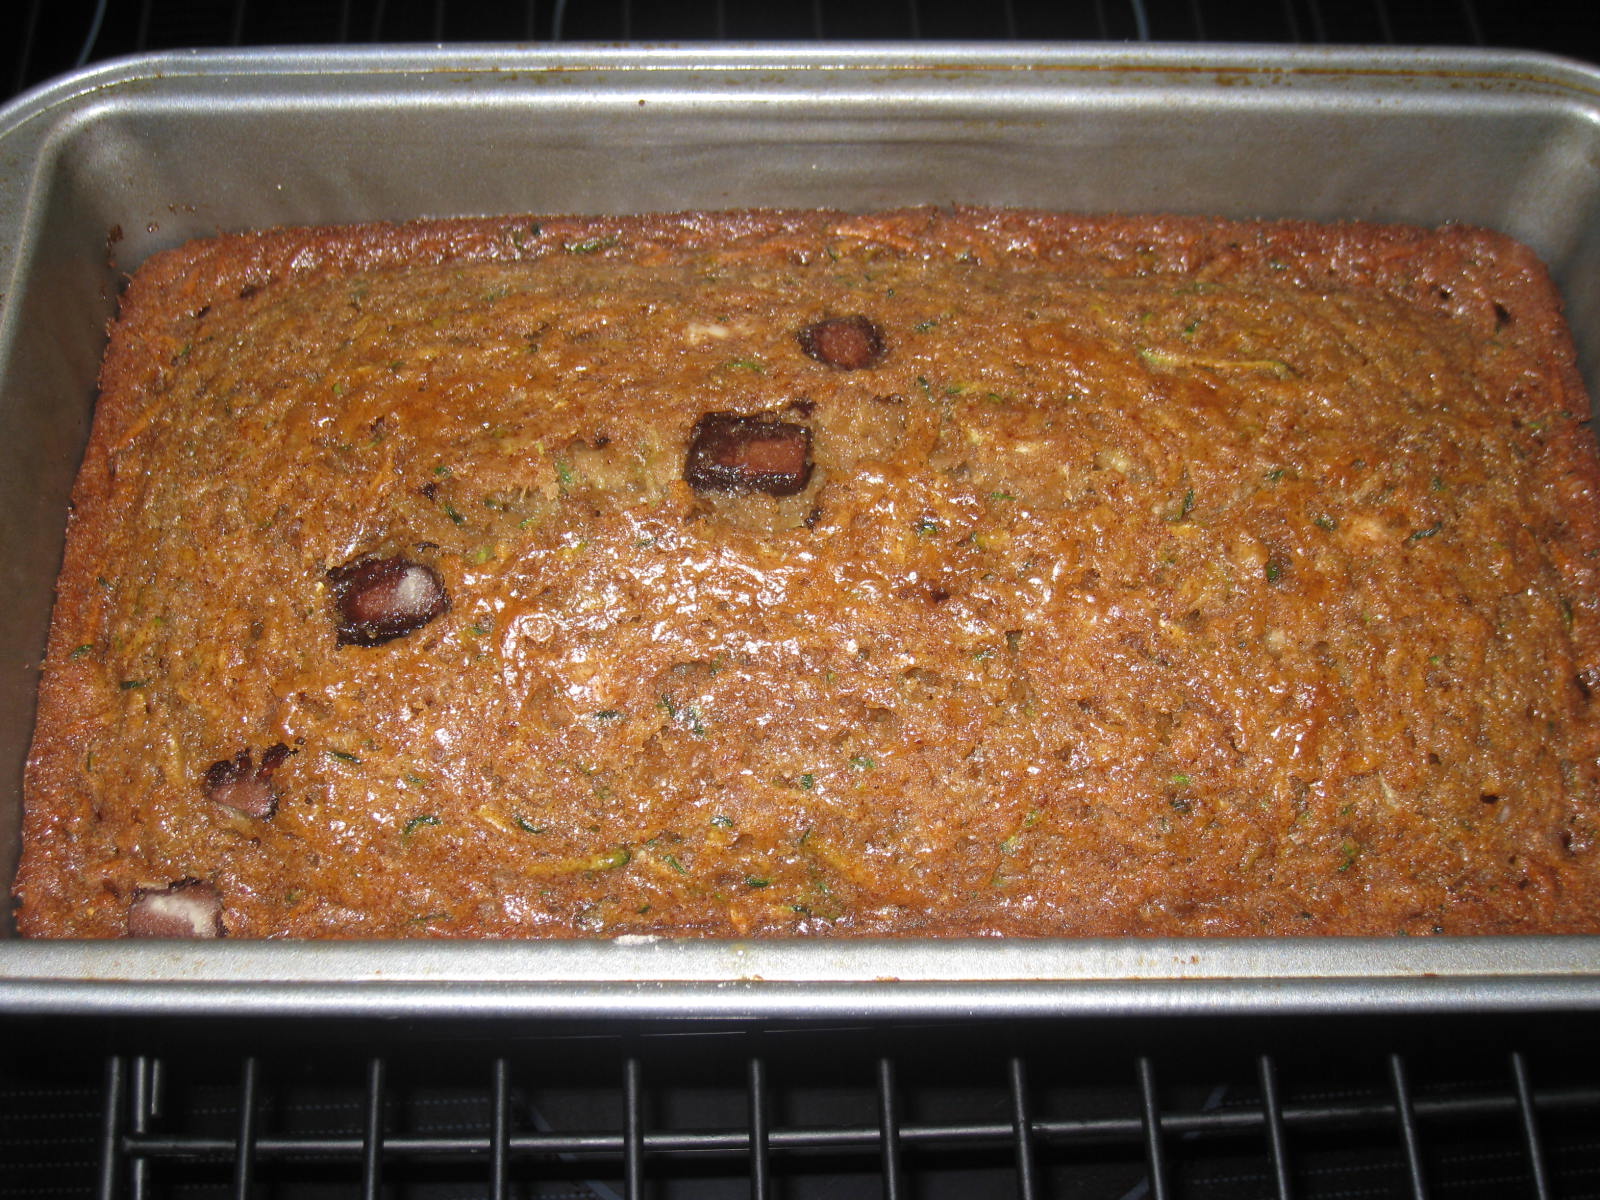
Bake for approximately 50 minutes or until golden brown. Let cool slightly before serving if you can manage that kind of willpower.
.jpeg)
Enjoy!
.JPG)
.JPG)
.JPG)


.JPG)